Old boats are a lot like old cars, in that the minute you’ve fixed one thing on them, something else decides it’s time to take a permanent vacation. And so it is that our minor hydraulic steering leak went from trickling status to OMG she’s bleeding out. We’ve been trying to isolate the leak for months, now–wiggling the lines into better positions, tightening all the connections, crossing our fingers, peering about with a flashlight and inspection mirror until we were both cross and crosseyed. Finally, we decided to just go ahead and replace the steering lines.
Step One: Hike up to Downwind Marine or your nearest marine supply place and $100 dollars later, you’ll walk out with a couple rolls of shiny new copper tubing. And miscellaneous other treasures that can not be resisted. Make sure you buy extra tubing. You’ll thank me later.
Step Two: Blow up the cockpit.
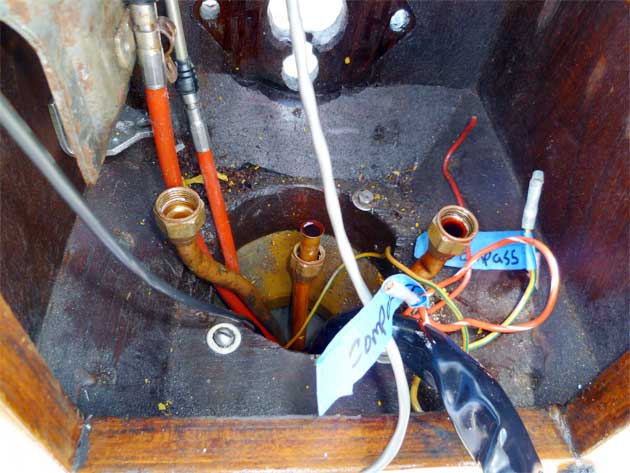
Inside the binnacle, minus one hydraulic pump
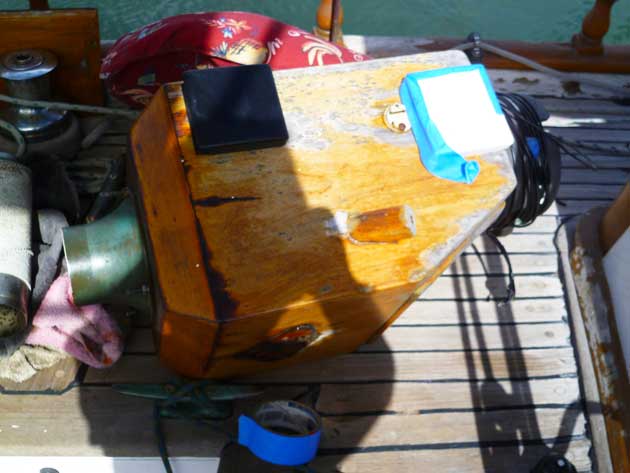
Binnacle
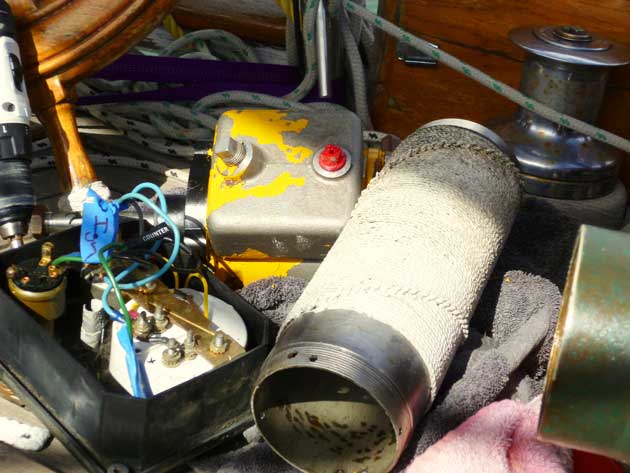
Hydraulic pump, gauges, and binnacle parts
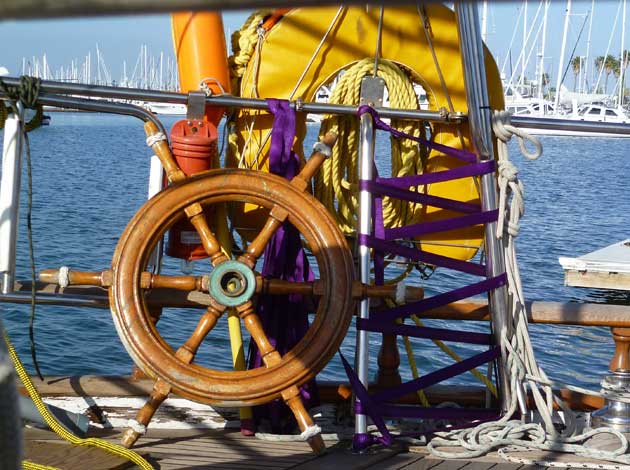
Helm waiting to be put back together
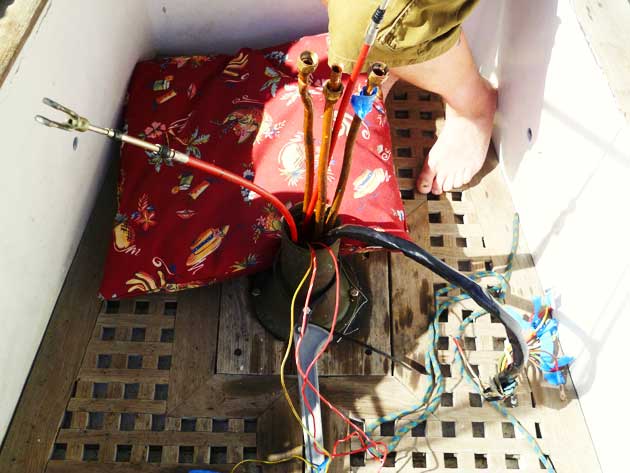
Letting it all hang out
Step Three: Make new lines, using the old ones as a pattern. This is one of my favorite things, something I had to master when I was striking MK. I can’t quite put my finger on what makes it so fun for me, but making flare fittings and bending copper lines is just cool. Even cooler…passing it on to my kid. If you don’t have a proper tubing bender, you can improvise using dock cleats, grab rails…practically anything, really. Just remember–gentle, tiny, gradual bends are what you want. It’s pretty near impossible to unkink the tubing if you go too far, too fast.
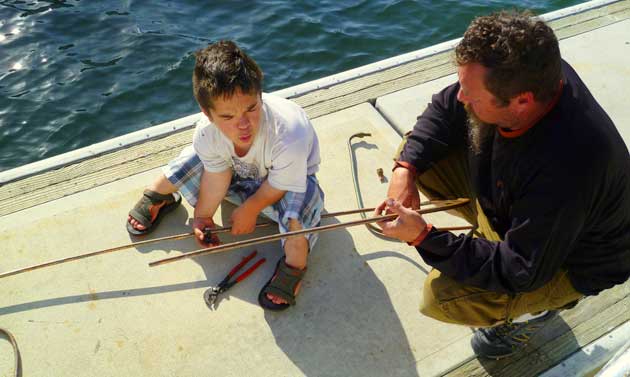
Eli cutting the tubing
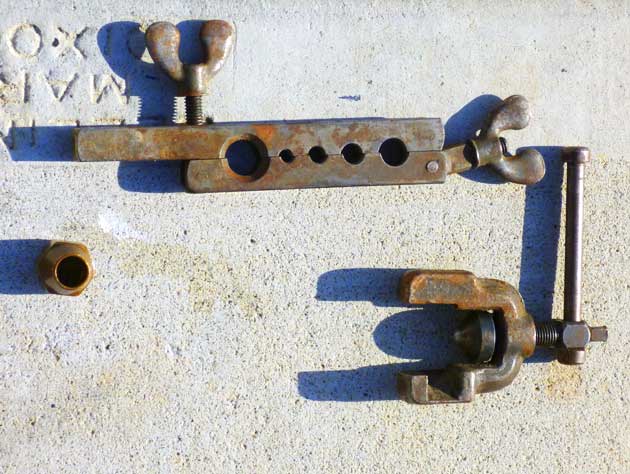
Copper tubing flare tool
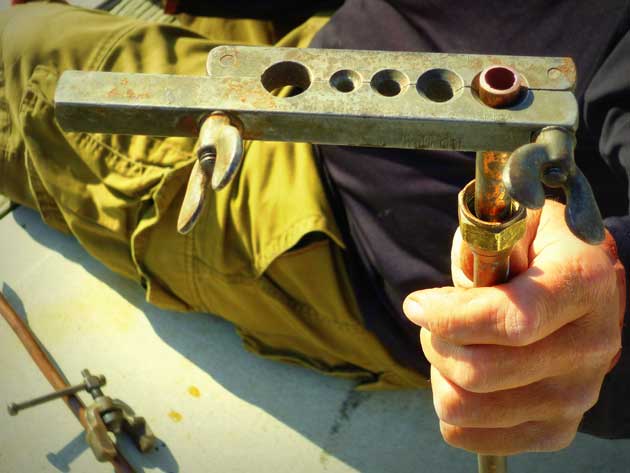
Clamp in place
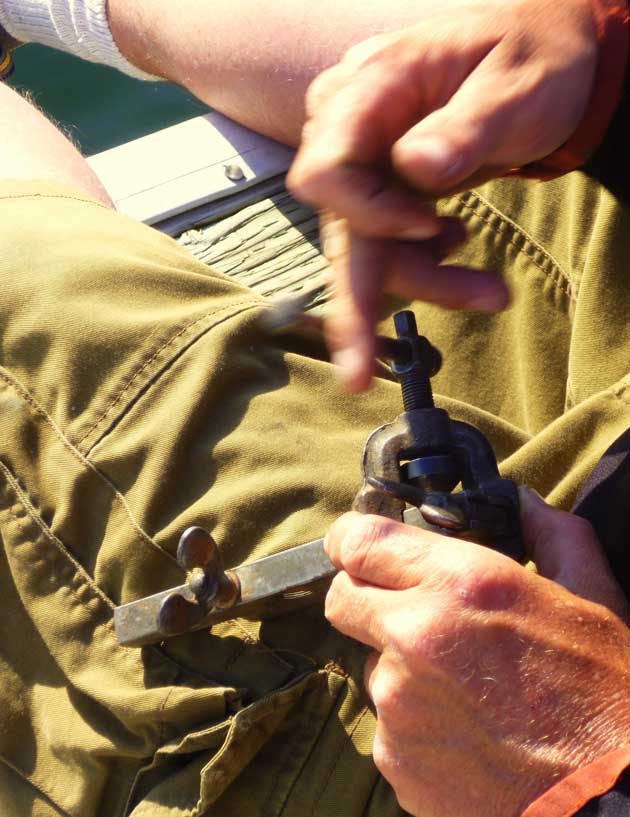
Screw it down tight
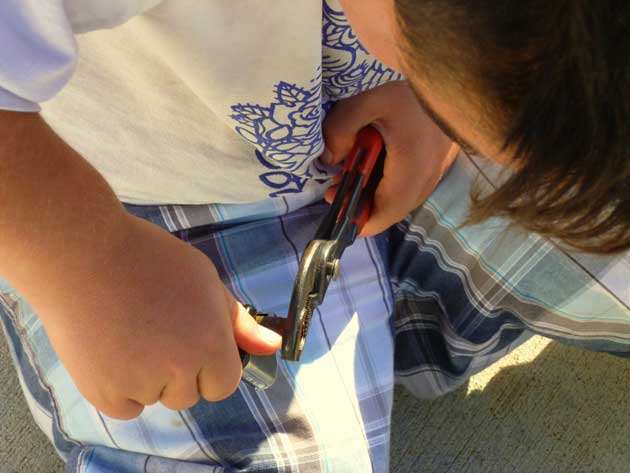
Working on a flare
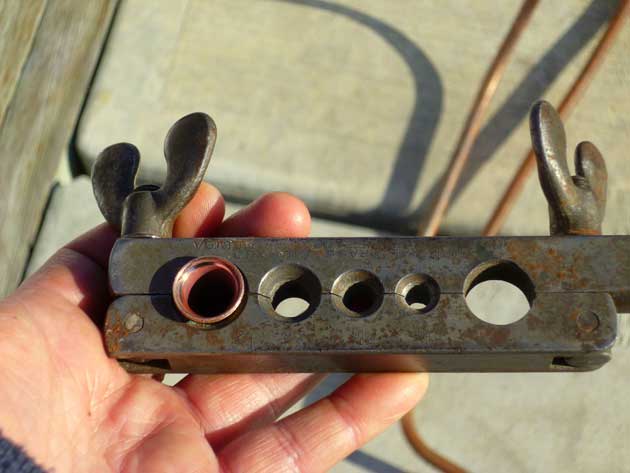
Eli's perfect flare
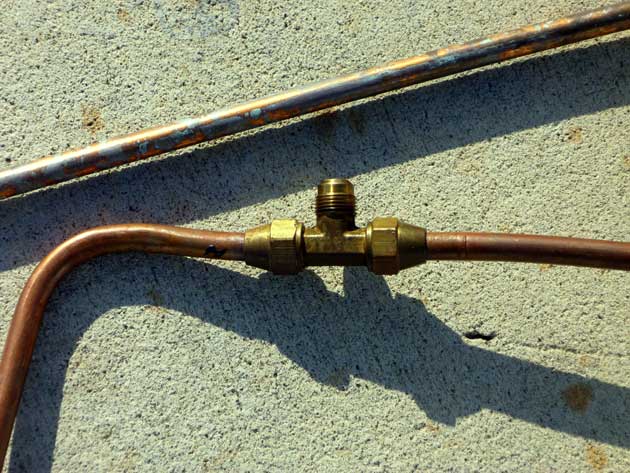
Using the old tubing as a pattern
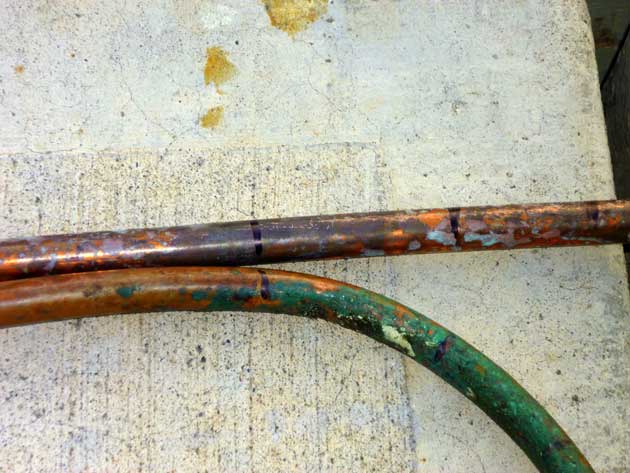
Transfer your bend point marks-Step 1
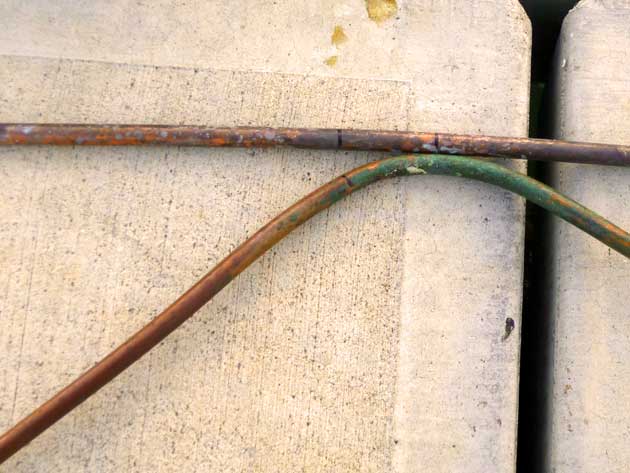
Step 2
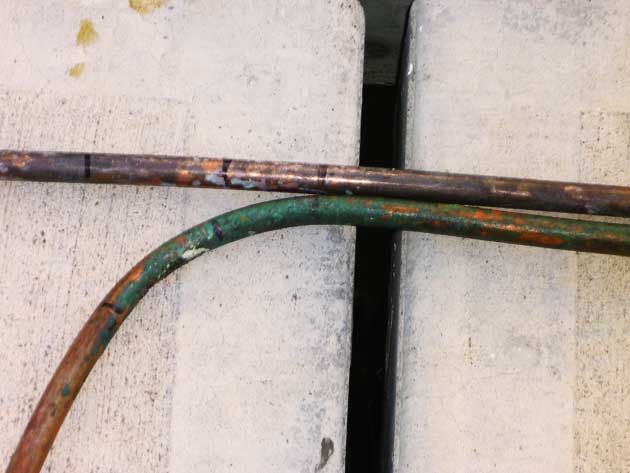
Step 3
Step Four: That’s what we have extra tubing for. Those holy crap! moments, when you’ve completely and irrevocably screwed the pooch for the section of tubing you were working on.
Step Five: Wrestle and generally manhandle all of the tubing sections into their respective domains. It’s a lot like herding cats, or trying to get a gaggle of toddlers out of the ball pool at your local Chuck E. Cheese.
Step Six: Make an offering to both Poseidon and the Omnipresent Murphy of Murphy’s Law. Under no conditions should you skip this step.
Step Seven: Put the cockpit back together, hook up all the connections and hold your breath. You may have to refer back to Step Four. If so, do not forget to do Step Six again.
Step Eight: Fill and bleed the hydraulic system. If all goes well, your rudder should turn in relation to the way you turn the helm. Check for leaks. Cross your fingers and your toes. Check for leaks again. If it all checks out, proceed directly to Step Nine.
Step Nine: Take her out for a shakedown sail. If the steering system holds together and performs well, you’re on to Step Ten. If not, circle back to Step Six and carry on from there.
Step Ten: Field day the bilge. Expunge every trace of wayward hydraulic fluid from your boat’s nether regions. Not only will she thank you with reliability, you’ll now be able to pass muster for an Anchoring Permit from the San Diego Harbor Department. Yes, that’s right…in order to anchor in the harbor, you’ve got to be inspected and it’s mandatory that you have no petroleum products lingering in the bilge.
Landfall passed her inspection with flying colors. We’ve still got a tiny leak from one of the rams, but to be fair, the shafts are a little scored. We’re looking around for replacement shafts, but even if we can’t get them, the leak is so miniscule compared to the deluge we were facing before we started this whole project. I think we’ll try some different o-ring options as well.


 Twitter Updates

Yo, awesome work mate! If and when you pull those rams out and apart, see if you can find a local with a lathe. Use some red scotchbrite or similar grit (even a dish washing one would work), spin the shaft 800rpm or so and run the pad firmly up and down the shaft. This won’t take down the chrome coating, just polish and help seal the new seals. Great work guys! Love’n it!!!!!
Nice work! That’s a whole bunch more patience than I’ll ever have.